buy antibiotic online
buy amoxicillin uk click amoxicillin 500 mg capsulessertraline visa
antidepressant online delivery
clomid uk success rates
clomid london drugs go clomid london drugsDaytime Long Exposure: Under $10
Article written by Chad Harnish
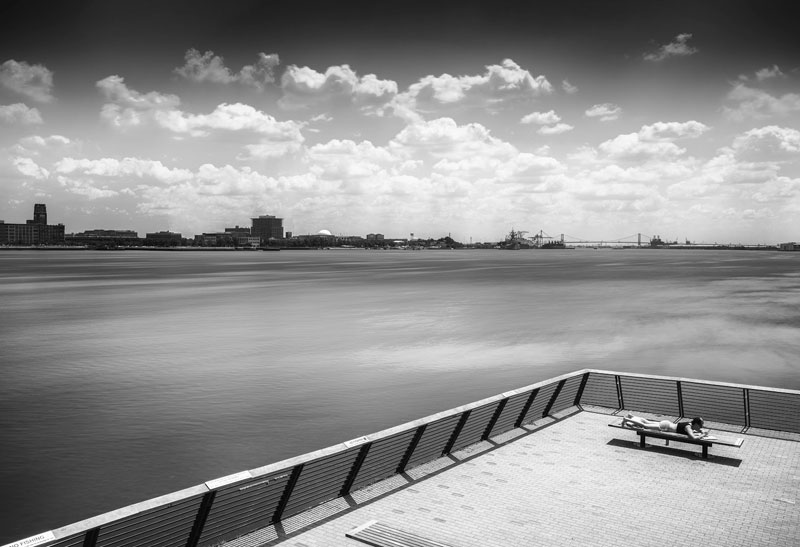
I recently read an article about using a piece of welder's glass as a lens filter, allowing long exposures during daytime.
Lifehacker points out that, "Shooting long exposure photos in daylight can create beautiful images that capture movement in a scene, but the filters required can be prohibitively expensive for casual photographers."
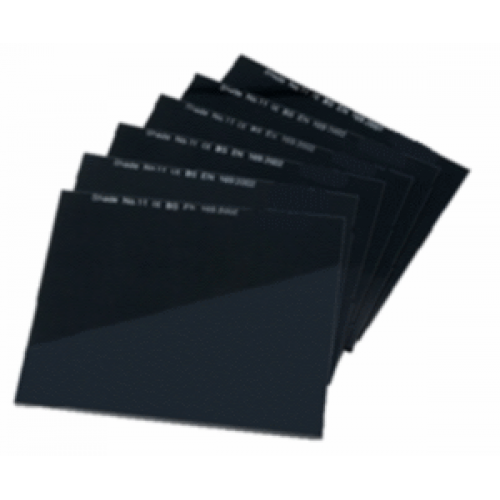
$3 Welding Glass vs. 10-stop neutral density filter
extremely dark filter
I've always been one to try out new techniques, and for under $10, sign me up! So, I went to my local welding supply store, Scully Welding Supply, and picked up three pieces of welding glass. Each piece is 4 1/2" x 5 1/4", but each is a varying shade measured from lightest to darkest. I got a 5, a 9, and a 13.
Each piece was $2.90.
Next, I needed some big rubber bands to attach the glass to my camera. I stopped at Staples and picked up a package of "big rubber bands." They come in a few colors, and while I only needed two, the pack comes with 24 for $5.29. I'm sure the extras will come in handy for something else.
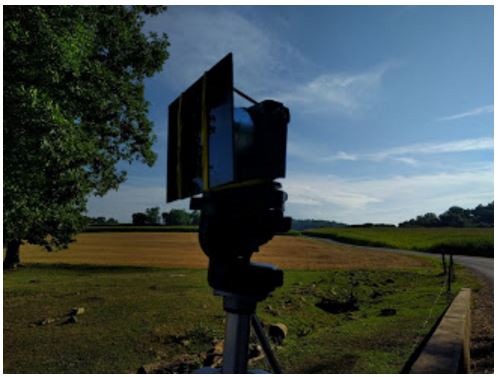
From the research I've done, it's recommended to put your camera on a steady tripod, compose the image, focus, and then attach the glass.
I've not yet used the darkest glass, but I've found I'm able to compose and focus with the glass attached to my Sony a6000.
Getting the glass mounted is a bit of a struggle. Due to the small nature of my camera, I needed to double up each rubber band. Getting the first one on is not so bad. The second one, however, while avoiding getting fingerprints on the glass, was a bit trickier.
Also, my piece of welders glass had a lot of irregularities on its surface.
I chose the Race Street Pier in Philly as my first test of this gear. I already had business to attend to there that day, so it was a pretty easy choice. I also found a parking meter with 40 minutes left! Perfect!
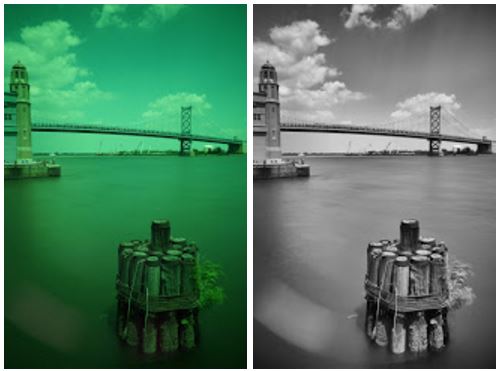
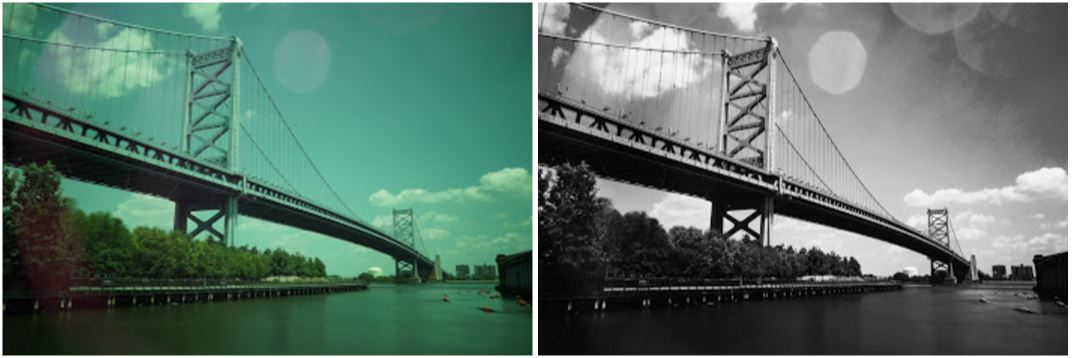
Unfortunately, compared to a proper 10-stop neutral density filter, welding glass is not neutral grey, therefore they all have a color cast in them. The glass I used had a strong green tint to it that makes the photos almost unusable unless they're converted to black and white. As a cheap alternative though, it really can't be beat for experimenting. I'd hate to spend $150 on a filter to find out I don't have any patience for daytime long exposure photography.
To the left, you can see both before, and after, conversion. I'm still experimenting with all of this, and I'm reading about techniques to shoot a grey card to correct the color cast. We'll soon see.
Pequea Marina

My next mission was the pier at the Pequea Marina in Pequea, PA.
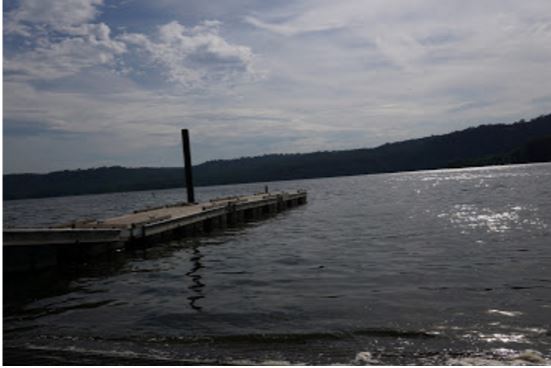
This is how the pier looked when shot at f/14, 1/500, and ISO 100 with my 19mm.
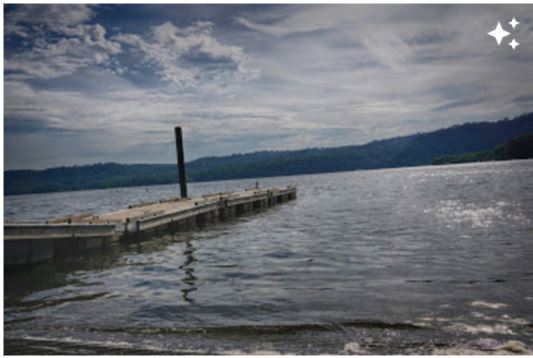
Here's the same shot processed as an HDR.
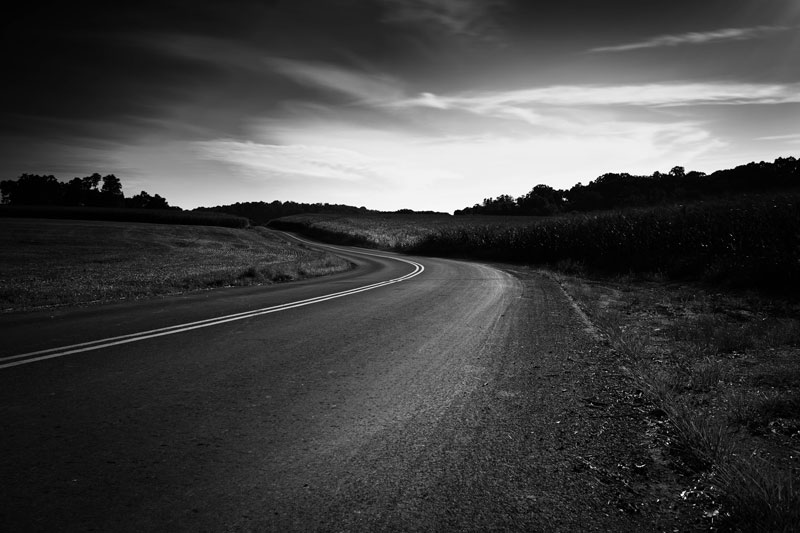
Try it on landscapes, too.
Conclusion
I had a lot of fun with this technique and will be experimenting with it a lot more in the future.
Pros:
Super cheap. Get three different shades of welding lass for under $10.
Cons:
The glass is not perfect
Strong hues make B&W necessary
Mounting is a struggle


